Expert Guide to Sloping Gardens
Sloping gardens can allow you to create the best of gardens in terms of its interest and overall design but they are, sadly, always likely to be more expensive to build than a similarly sized flat garden…
Of course you can choose to keep the slope and work with what you have - for example using plants or turf to hold the soil together (to prevent it being washed away) but this tends to be an easier approach on gently sloping ground.
Gardening on a slope is a challenge in itself, and a surprisingly frequent feature of garden design in Yorkshire and the north of England, and for this reason people prefer flat areas to sit, relax, entertain, and to tend their favourite plants. It is how you create these flat areas that provide the scope for design and the layers of interest inherent to a sloping garden.
Sculpting the ground to create level areas
The simplest method (usually most cost effective on gently sloping ground) is to re-form the ground to create flat spaces - moving the spare soil to extend the flat area or to create mounds elsewhere (the cost of moving this off site would be high and this is not a sustainable approach). This can be undertaken to a greater or lesser degree - and some gardens have turned such landforms into an art-form themselves (for example the Garden of Cosmic Speculation created by Charles Jencks in Scotland). It is the same principle of using the spoil form a new pond to create a mound elsewhere and you should ensure you have room for excess soil as a fundamental part of the design. Slopes however should remain comfortable to walk on and you should bear in mind that many lawn mowers can only be used on slopes with a maximum gradient of around 15 - 20 degrees.

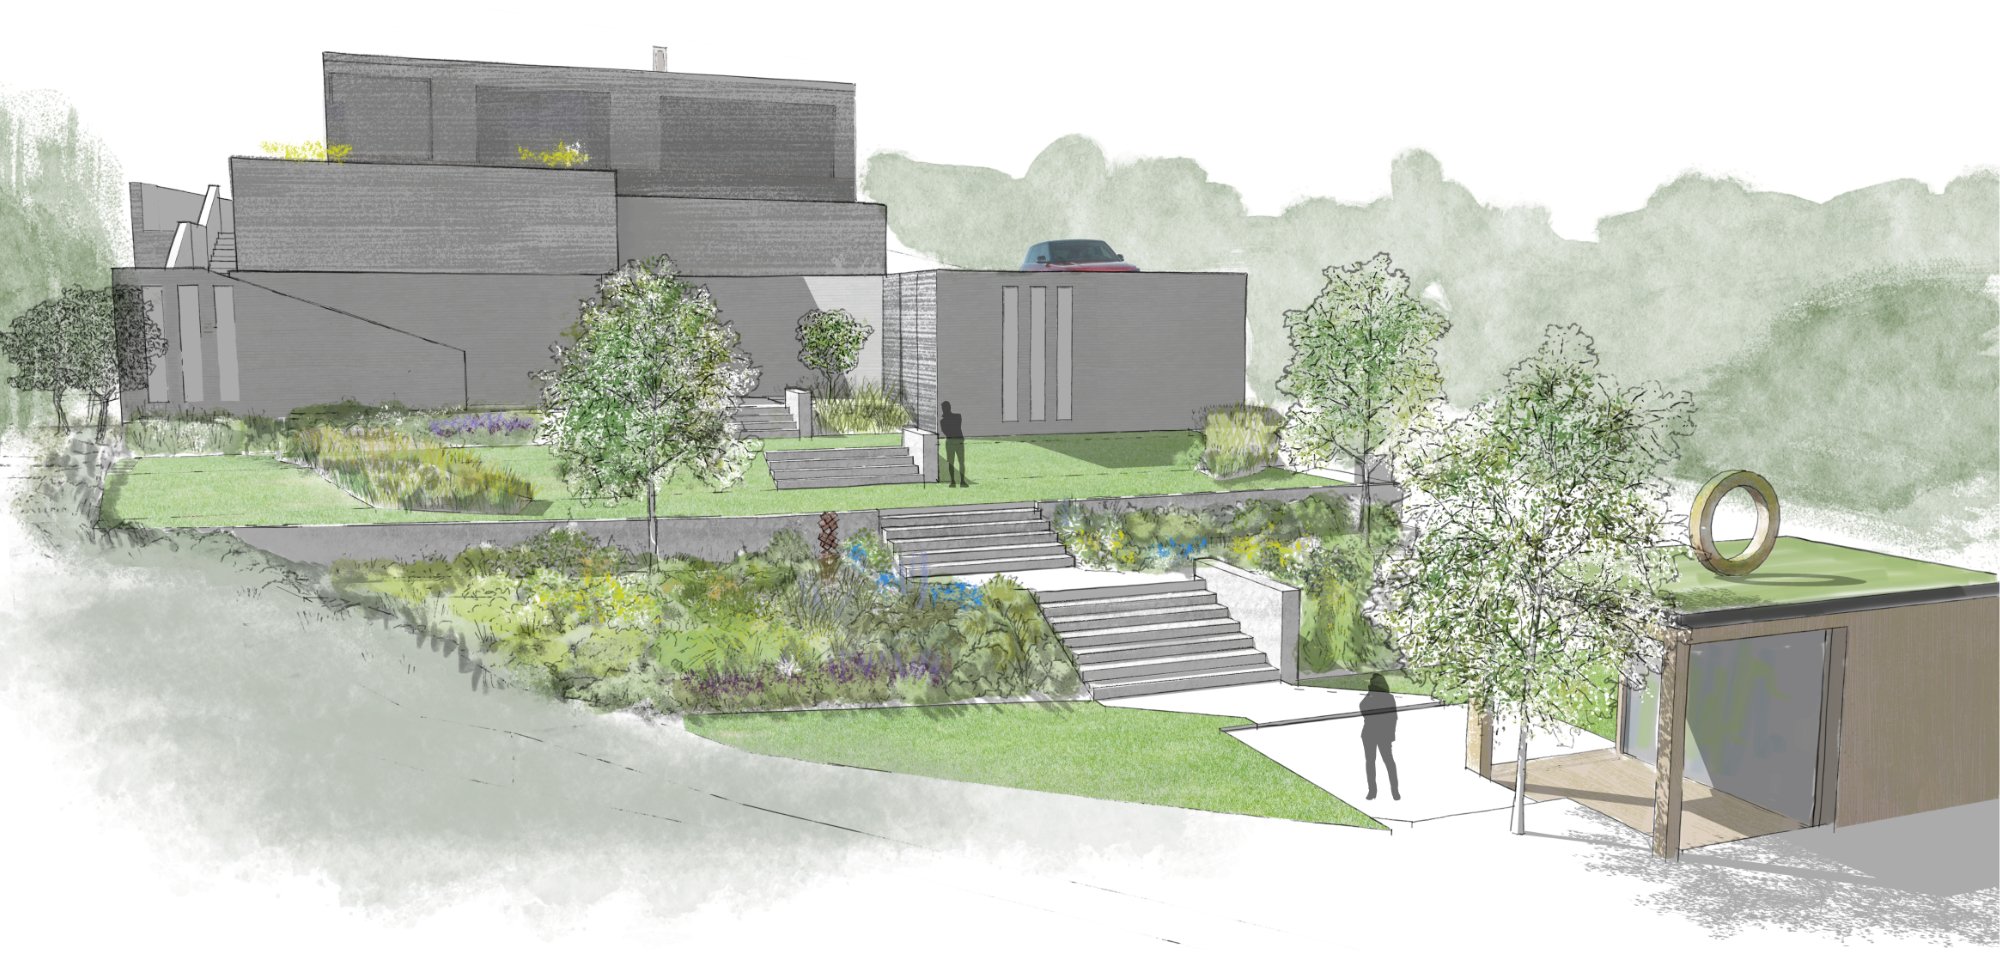
Retaining structures: steps and ramps in the garden
If re-grading the ground is not an option, or is only used in a few areas, level space is instead created using retaining walls. These come in a wide variety of formats, and I shall discuss these in more detail below. Of fundamental importance though, when you have retaining structures, is how you will travel around the garden. The way this is achieved is either by the use of steps or ramps.
Steps come in a massive array of styles and to cover them here would be impossible. The key points to remember though are regarding the sizes of riser and tread. The riser is the height between steps - higher steps allow you to travel up a slope quicker but can be harder work. They should not be so low as to cause a trip hazard either - so a riser height of 75 - 200mm is the generally accepted range although it tends to work better keeping to between 120 - 180mm. It should also not need stating that all steps should be the same height - I’m always surprised by how few steps follow this golden rule. Finally for risers, after about 10 or 11 steps it is a good idea to have a landing of 1m or more to allow a rest stop.
The other key step variable is the tread depth - how deep each step is. These can be narrow for steep steps and much deeper for gradual slopes - however the cost of your steps will be greater the larger the run of steps is so a balance is always needed to be found. The depth of the tread affects how quickly you use the steps as larger treads lead to a slower pace.
Ramps are ideal for allowing inclusive access into a space but are much harder to locate within a design. This is because a ramp for a wheelchair user at a minimum 1 in 12 gradient will need either a clear run of 12m to drop a metre in height (as opposed to steps with a 300mm tread and 150mm riser which would need a 1.80m run), or ramps will need to zig-zag down the slope to maintain the gradient, but keep the ramp much closer to the retaining wall itself. Steps can be grand and imposing, or simple and relaxed, can be of flexible construction (usually timber retaining risers) or of rigid construction with concrete or blockwork formers below the steps and risers; they can also have additional retaining walls to either side of can be installed without (although this is a less formal look that can make maintaining grass next to the step more challenging).
Designing retaining walls
The materials that can create a retaining wall are varied although their use will depend not just on aesthetics but the grade of the slope and the height of the wall as well. A simple rule of thumb is that if you are retaining more than a metre of soil in height you should be seeking advice from a structural engineer. The weight and therefore the pressure behind a wall varies by soil type (less pressure from sand and more from clay) and also from water build up behind the wall (and so drainage is always of great importance either with gaps (‘weep-holes’ to allow water to escape) or using land drainage to move it from behind the wall to a suitable soakaway or attenuation basin (i.e. a seasonal pond!).

Types of retaining wall for the garden
There are various types of retaining wall that can be included in a garden - depending on its style and your available budget. Commonly used garden options are listed below:
Traditionally dry stone walls have been used (although not to great heights and the higher the wall the more of a batter it will need (thicker at the bottom than at the top). These work really well in traditional gardens but require skill and patience to build and a ready supply of suitable stone.
The modern equivalent of stone walling is to use gabions - wire baskets back filled with stone (and often seen by motorways). To get a more designed look you can stack a decorative stone to the side facing the viewer and backfill with rougher stone but again this can be labour intensive to achieve depending on the location of the gabion.
Timber in the form of sleepers can also retain soil and this is often the most cost effective approach. However timber is a natural building medium and will slowly degenerate over time when in contact with the earth but it is porous (like the above) so that drainage is not needed behind the wall. Sleepers can be laid parallel to the ground or can be inserted vertically for a different visual effect.
Most commonly used, and requiring skill to build and behind wall drainage, are blockwork walls. These may or may not have steel centres and poured concrete for greater strength (depending upon their height) but they do require solid and often reinforced foundations. The advantage to these walls, aesthetically speaking, is that the facing side can be clad with any number of materials - from porcelain tiles, to stone effect cladding, to timber, to brickwork (or just brick slips), to paving units - to easily tie the walls with the rest of the garden and its associated house.
Modular units are concrete blocks that can be stacked upon each other, usually to create a natural batter, on a solid foundation or packed earth, although they come in a relatively limited range of colour options. Easy to install these can work well in the right situation.
Sloping gardens therefore present unique challenges to householder and designer alike and these need to be carefully thought through and applied. If you want to discuss this further speak to profession landscape and garden designers like Haddon Studio.